
Purpose of this tutorial:
To vary the light intensity of an RGB LED using an ESP32, you would need to connect the RGB LED to the ESP32 and use PWM (Pulse Width Modulation) to control the intensity of each color.
PWM is a technique for controlling the amount of power delivered to an electronic device by rapidly switching the device on and off at a high frequency. By adjusting the duty cycle of the PWM signal, the average power delivered to the device can be controlled.
In the case of an RGB LED, each color is controlled by a separate pin. To control the intensity of each color, you would need to use PWM on each of the three pins.
In this tutorial we will automatically vary the light intensity of an RGB LED module with the ESP32 card.
Necessary components
ESP32
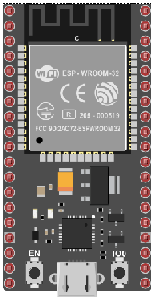
The ESP32 is a low-cost, low-power microcontroller with built-in Wi-Fi and Bluetooth capabilities. It is a popular choice for IoT projects and is commonly used for a variety of applications such as home automation, wireless control, and sensor data logging. The ESP32 features a dual-core processor, a rich set of peripherals, and support for a wide range of protocols. It can be programmed using the Arduino IDE and various other programming languages such as C, C++, and MicroPython.
Additionally, the ESP32 has a wide range of features including:
- A high-performance processor with a clock speed of up to 240 MHz
- Support for various types of wireless connectivity such as Wi-Fi, Bluetooth, and Bluetooth Low Energy (BLE)
- Multiple communication interfaces such as I2C, SPI, UART, and I2S
- A large number of GPIO pins to connect to external devices and sensors
- A built-in security module for secure communication
The ESP32 is often used in projects where a low-cost, low-power device with Wi-Fi and Bluetooth capabilities is needed, and it is commonly used with other sensors and devices to build IoT projects, home automation systems, wireless control systems, and data logging systems.
RGB LED
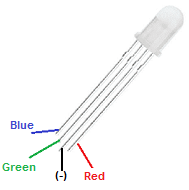
An RGB LED (Red Green Blue LED) is a type of LED that can produce different colors by adjusting the intensity of its red, green, and blue components. Each color is controlled by a separate pin, and by adjusting the intensity of each color, a wide range of colors can be produced.
RGB LEDs are widely used in a variety of applications, including lighting, displays, and visual effects. They are often used in projects that require the ability to change color, such as mood lighting, color-changing lamps, and visual effects for music and theater.
RGB LEDs can be controlled using a variety of methods, such as using a microcontroller to generate PWM signals on each of the color pins, or using specialized ICs (Integrated Circuits) that can control the color and intensity of the LED.
RGB LEDs are relatively easy to control and are widely used in DIY and hobby projects, including those that use microcontrollers such as the ESP32. They can be easily connected to the microcontroller and controlled by adjusting the PWM signals on each color pin.
It’s worth noting that RGB LED can also be addressed using a different technology called WS2812B which is a LED with a built-in controller and it only needs one pin to control it. This type of LED is often called NeoPixel or WS2812.
Connecting wires

Connecting wires refers to the process of physically connecting wires or cables to a device or circuit in order to establish an electrical connection. This can be done by using various connectors such as plugs, sockets, or terminal blocks. The wires are typically color-coded to indicate their function, such as red for power, black for ground, and yellow for signals.
Test plate
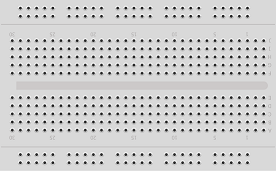
A test plate is a type of circuit board that is used to test electronic components. It typically consists of a flat board made of a non-conductive material, such as plastic or fiberglass, with a number of holes or pads that are used to connect electronic components. The test plate allows you to connect electronic components and test them easily.
Mounting
We connect:
-
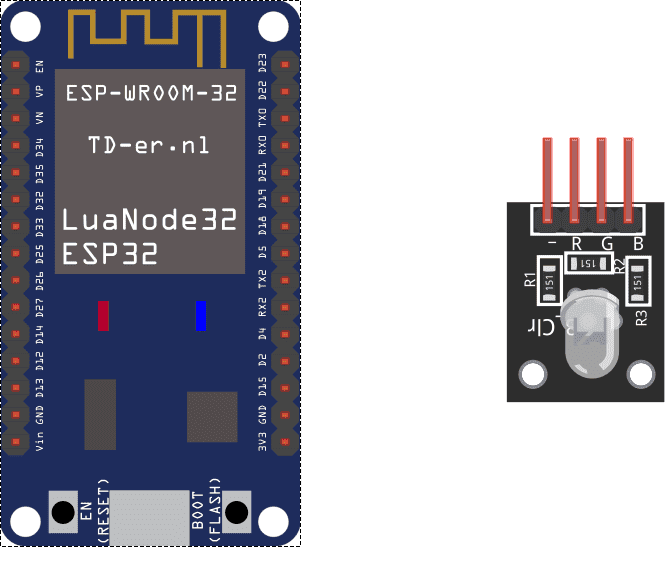
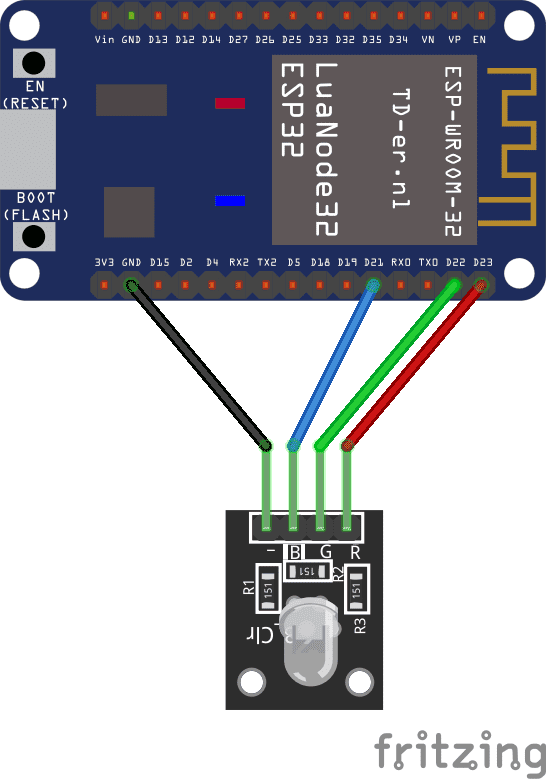
pin D23 of the ESP32 board to pin (R) for the red color of the RGB LED module
-
pin D22 of the ESP32 board to pin (G) for the green color of the RGB LED module
-
pin D21 of the ESP32 board to pin (B) for the blue color of the RGB LED module
-
the GND pin of the ESP32 board to the (GND) pin of the RGB LED module
Micropython program
|
1 2 3 4 5 6 7 8 9 10 11 12 13 14 15 16 17 18 19 |
import time from machine import Pin led_red=Pin(23,Pin.OUT) led_green=Pin(22,Pin.OUT) led_blue=Pin(21,Pin.OUT) while True: led_red.value(1) #LED light up red led_green.value(0) led_blue.value(0) time.sleep(2) # wait 2s led_red.value(0) led_green.value(1) # LED light up green led_blue.value(0) time.sleep(2) # wait 2s led_red.value(0) led_green.value(0) led_blue.value(1) # LED light up blue time.sleep(2) # wait 2s |

