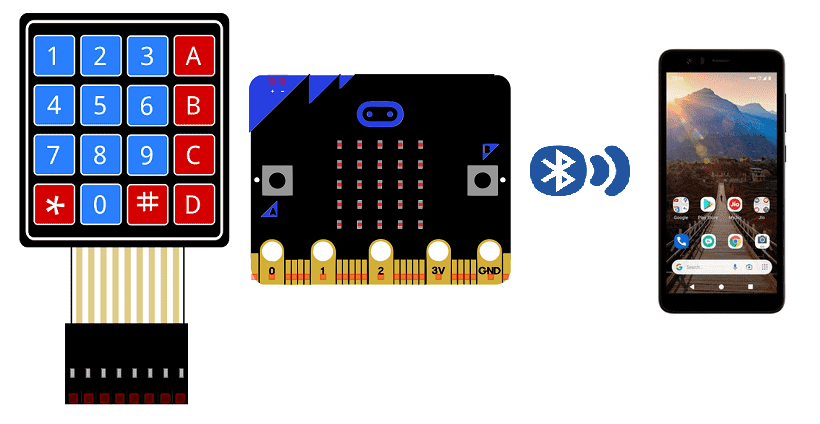
Send message from 4×4 matrix keypad with Microbit to smartphone via bluetooth

The micro:bit is a small programmable microcontroller that has built-in support for Bluetooth communication. It can be used to send and receive data wirelessly over Bluetooth to other devices, such as smartphones, tablets, or other micro:bits.
The micro:bit has a built-in Bluetooth transceiver that can be used to send and receive data over Bluetooth Low Energy (BLE) using the micro:bit’s built-in Bluetooth protocol stack. BLE is a low-power variant of Bluetooth that is designed for use in IoT and other wireless applications where power consumption is a concern.
The micro:bit can be programmed using a variety of programming languages such as MakeCode, Python, and JavaScript. The micro:bit’s built-in Bluetooth support can be accessed using these languages using the provided libraries.
To use Bluetooth on the micro:bit, you need to pair the micro:bit with another device, such as a smartphone or another micro:bit, using the device’s Bluetooth settings. Once paired, the micro:bit can send and receive data to and from the other device.
For example, you can create a program in MakeCode that allows the micro:bit to send data over Bluetooth when a button is pressed. On the other side, you can create a mobile app that listens for incoming Bluetooth data and then performs an action based on that data.
In summary, the micro:bit is a powerful and versatile development board that has built-in support for Bluetooth communication. It can be easily programmed using a variety of programming languages, and its low power consumption makes it well-suited for wireless IoT and other applications.
Purpose of tutoriel:
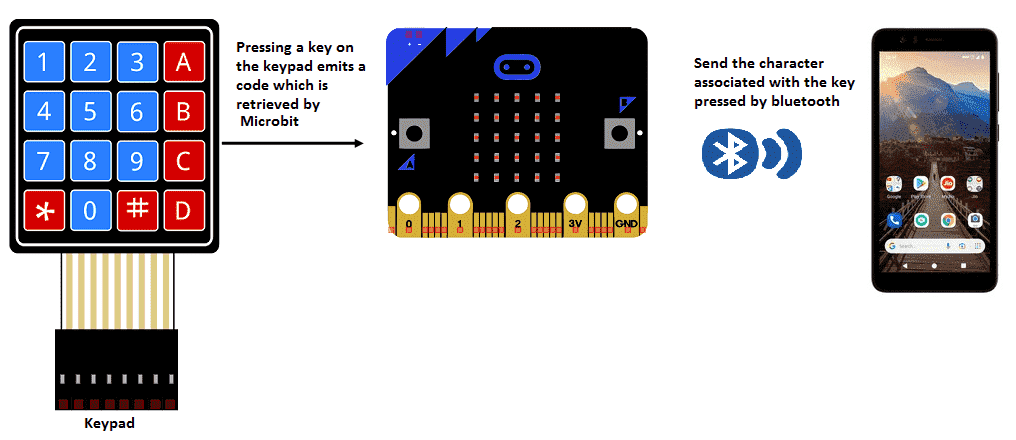
In this tutorial we will see how to send a message from the Microbit card to the smarthpone via bluetooth using the matrix keyboard. This is why we will create two programs: a mobile application with App Inventor for the smartphone and a program for the Microbit card.
Keypad operation and Microbit:
Necessary components
Micro:bit
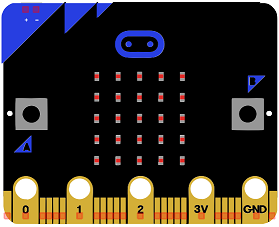
The micro:bit is a small, programmable computer that is designed to make learning and teaching coding easy and fun. It was created by the BBC as part of their Make it Digital initiative, and is intended for use in classrooms and educational settings. The micro:bit features a number of sensors and inputs, such as a built-in accelerometer, compass, and buttons, as well as a 5×5 LED matrix that can be used to display text, graphics, and animations. It can be programmed using a variety of languages and tools, including Microsoft MakeCode, MicroPython, and JavaScript.
Micro:bit GPIO Board T
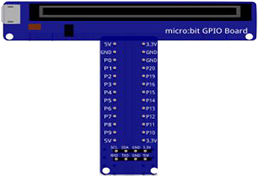
A Micro:bit GPIO board is a type of expansion board that connects to the Micro:bit and provides additional input/output capabilities. They are often used to interface the Micro:bit with external devices such as sensors, actuators, or other electronics. They typically include a set of connectors, such as pins or sockets, that can be used to connect the Micro:bit to external devices, and may also include additional features such as power rails or built-in components. These boards can help to make the development of physical computing projects with the Micro:bit easier and more accessible by providing a variety of connectors and power options.
4×4 keypad
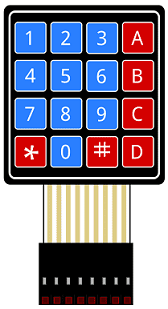
A 4×4 keypad is a type of input device that consists of a grid of 4 rows and 4 columns of buttons. It is often used as a simple, low-cost way to add numerical input to a project, such as an access control system or calculator.
The buttons on the keypad are typically labeled with the digits 0-9, as well as a few additional characters such as * and #. Each button is connected to a pin on the keypad’s circuit board, and the pins are connected to a microcontroller or other electronic device.
connecting wires

Wires are used to transmit electrical signals and power to various components such as motors, sensors, and microcontrollers. It’s important to properly route and secure the wires to prevent tangles and damage. There are several methods for doing this, including using cable ties, clamps, and wire looms. It’s also a good idea to use different colors or labeling to identify the different wires and their functions. When connecting wires in a robot, it’s important to follow proper safety procedures, such as using the correct wire stripper and connectors, and wearing protective equipment such as gloves and safety glasses.
test plate
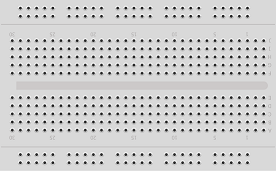
A test plate is a type of device used in robotics to test the functionality and performance of various components or systems. It is typically a physical platform or structure that is designed to hold and support various test items or devices, such as sensors, actuators, motors, or other types of mechanical or electrical components. Test plates can be used to simulate different environments or conditions, such as temperature, humidity, vibration, or other factors, in order to evaluate the performance of the components or systems being tested. They can also be used to perform a variety of diagnostic or diagnostic tests, such as stress testing, endurance testing, or other types of evaluations.
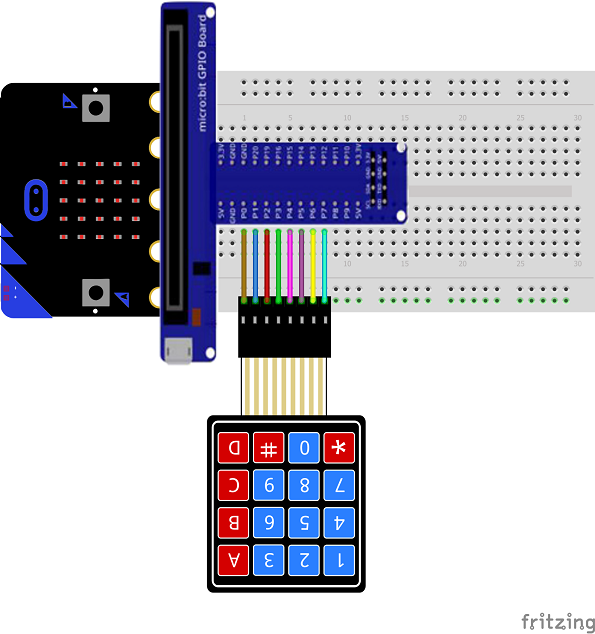
Montage
We connect the 8 outputs of the keyboard to the 8 pins of the Micro:bit card following this order : P0, P1, P2, P3, P4, P5, P5, P6 et P7
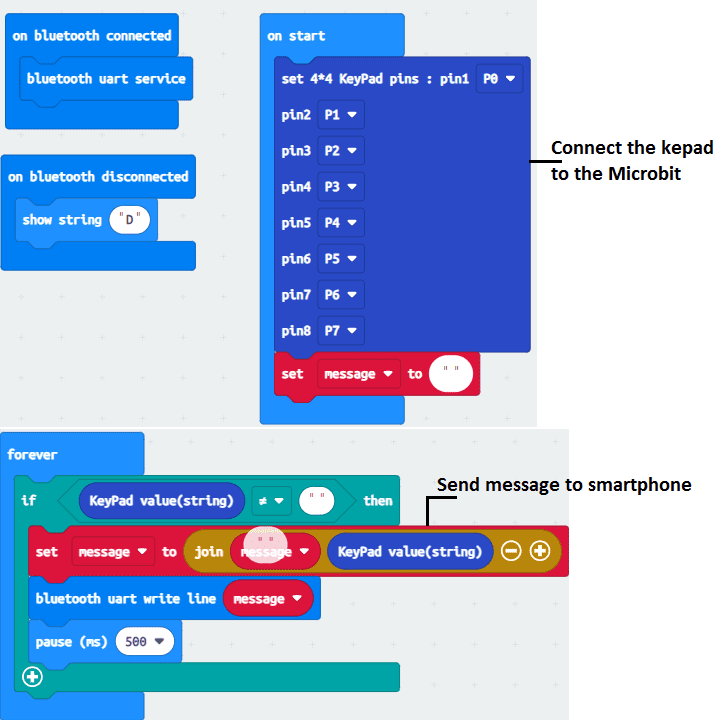
Makecode Program
Here is the program that allows you to connect the Microbit card to the smartphone and send a message by bluetooth using the 4×4 matrix keypad.
Creating the application with App Inventor:
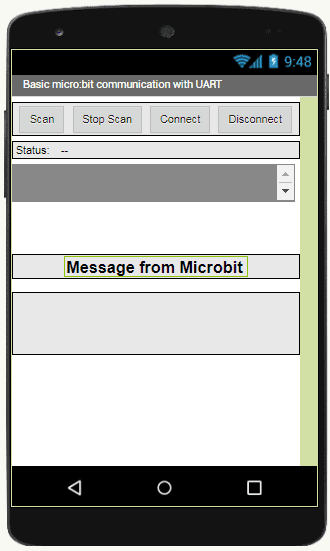
We will create a mobile application named ‘microbit_keypad’ with App Inventor which allows to receive a message from the ESP32 card.
We therefore suggest that you create the design of the application, with the following visual:
Programming with App Inventor
To program the application, App Inventor offers us to use the Blocks space which allows you to create a program in the form of a block diagram. Very easy to use but requires some programming logic.
Here is the program of the application made in the Blocks space of the App Inventor:


